With OUR Process, Most Installations are completed in a single day!
Contact Us Today to discuss how we can help you!
Identify The Location
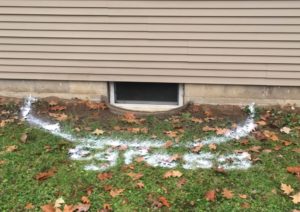
It is often easiest to visualize your new egress window in the same location as the home builder placed a basement window, but this is not a requirement.
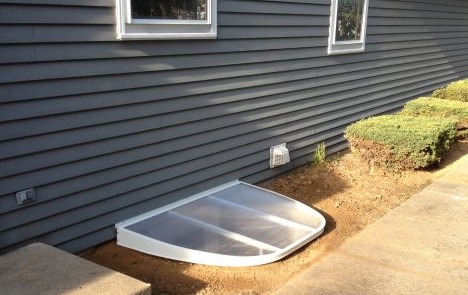
The best locations have 2-3 courses of block showing (~16-24″) between the soil level and the siding. The final grade will be adjusted to produce a positive grade away from the house and the egress well. This will also compensate for some of the inherent settling of the excavation site.
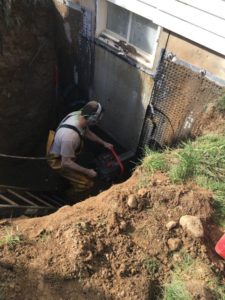
Tread Lightly

Our equipment is geared to provide the lowest impact possible on the transient areas surrounding the installation site. Our equipment is mounted on turf tires (like a riding lawn mower) which minimizes the transitional impact on lawns and landscape.
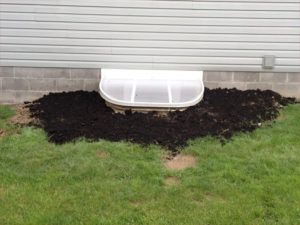
Soil Removal
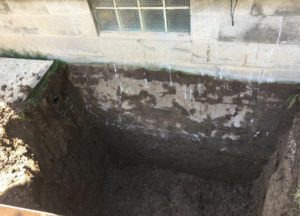
As a rule of thumb, approximately three and a half cubic yards of soil are removed from the installation site.
Cut The Hole
All masonry cuts are completed from the outside to reduce the overall impact on the interior spaces. Generally, the process is dustless.
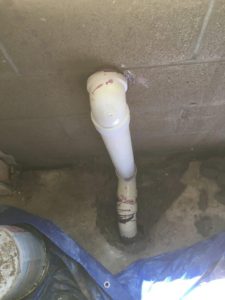
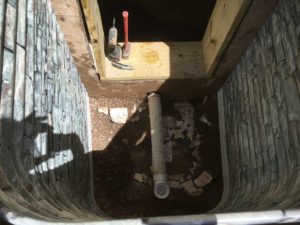
Drain Tie-In
When it comes to egresses, water is not your friend. We take every precaution to keep your egress window from becoming an aquarium. Every job has a direct, and tested, drainage path. This is a requirement for both National and Local building codes.
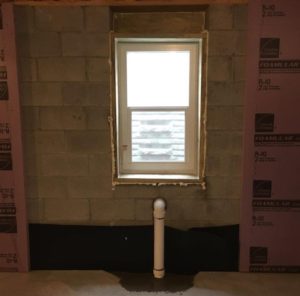
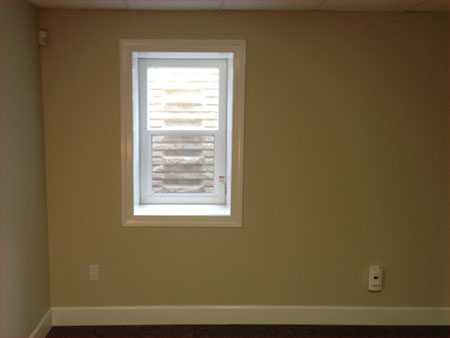
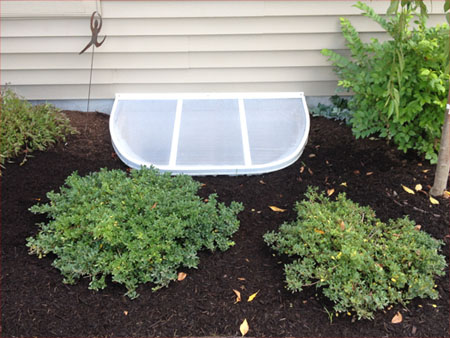
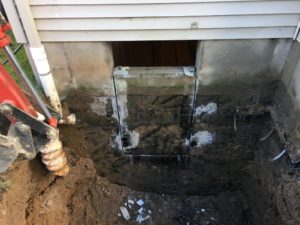
Install
Whichever well the homeowner chooses, we mechanically fasten and seal the well to the masonry wall to prevent movement and water ingress after backfill. We install a variety of grate and cover options on all installations to prevent falls into the egress well.
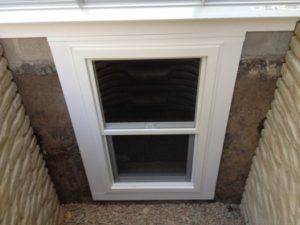
All windows are rough framed in pressure treated lumber for longevity, flashed in aluminum and trimmed with PVC for a lifetime of low maintenance. Additionally, all fasteners are coated or stainless steel and installations are double sealed (inside and outside) for further longevity and long lasting quality.
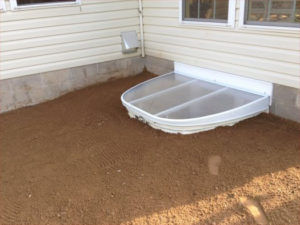
Ready To Use!
Installation sites are left final graded and ready for landscaping. We usually recommend waiting at least a month before doing final repairs on the installation site to allow for settling.
For more photos of our installations, visit our photo gallery.